
Mainline Articles
Stringing The Seasons Together
Southwest carper, John Kneebone reveals his simple tactics and minimal approach for early spring ... read more
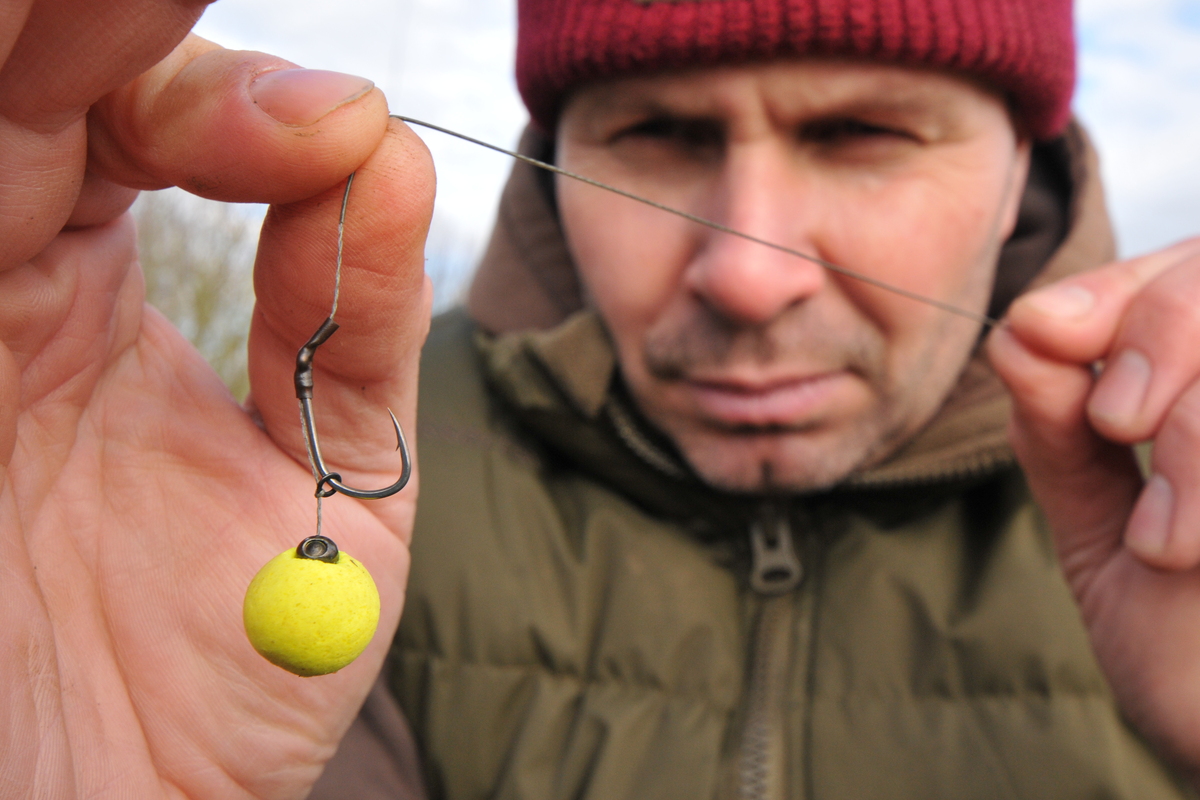
Single Hookbaits
Do they have the power alone to keep your catch-rate going? Well, according to Mainline carper, J... read more
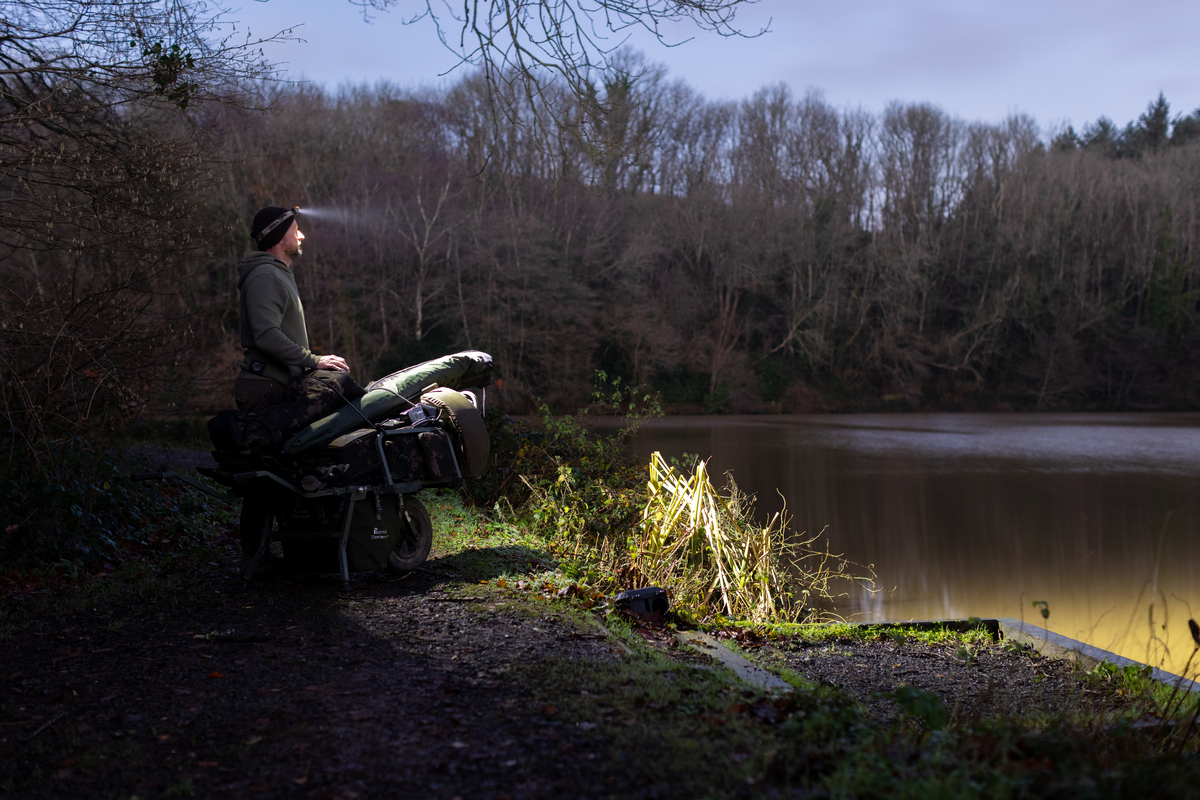
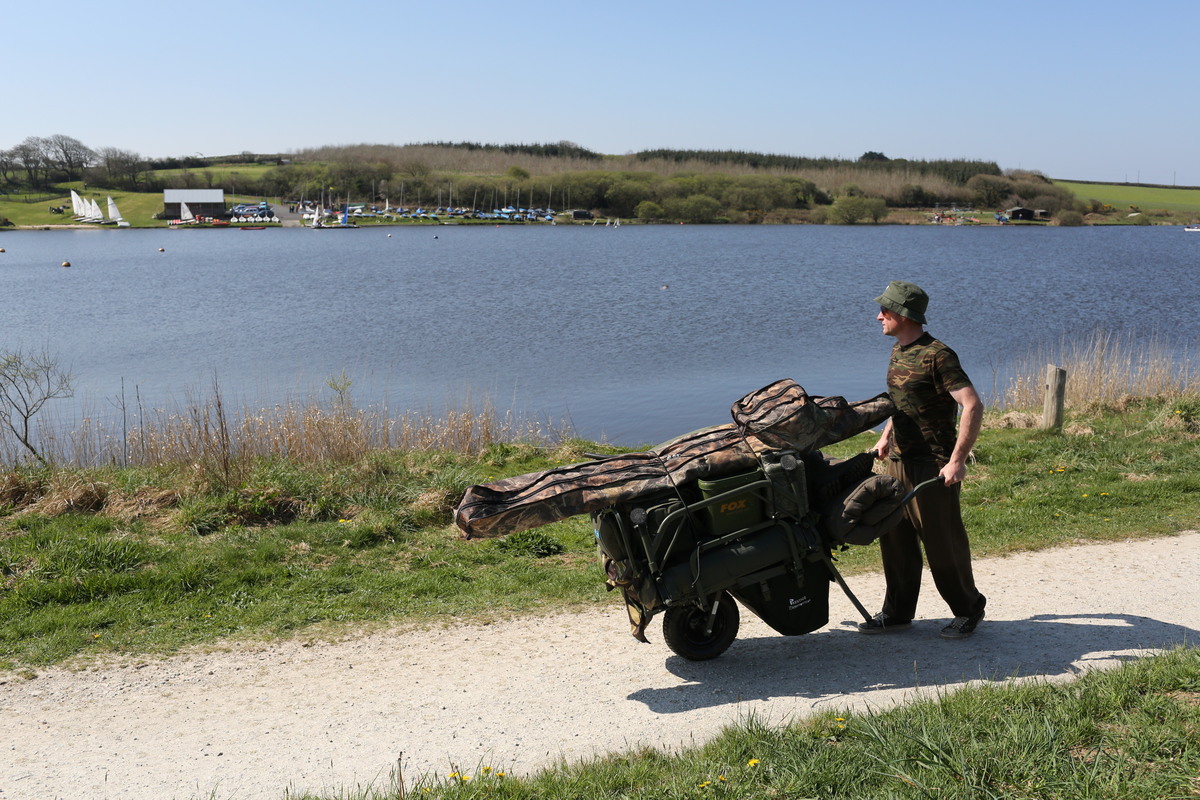
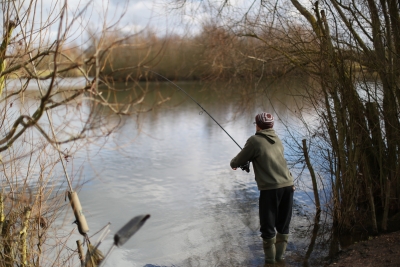
Off The Barrow
We follow south-west carper, John Kneebone as he tries to track down a winter carp bite from a sh... read more
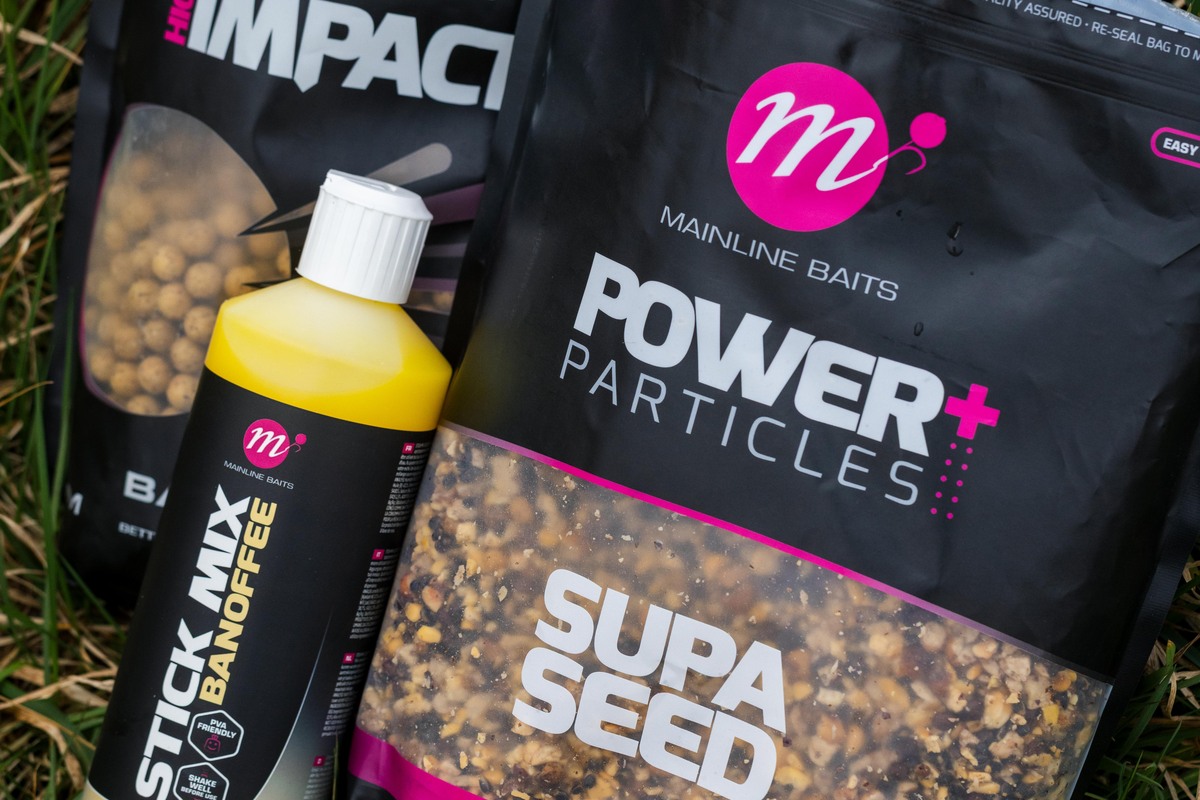
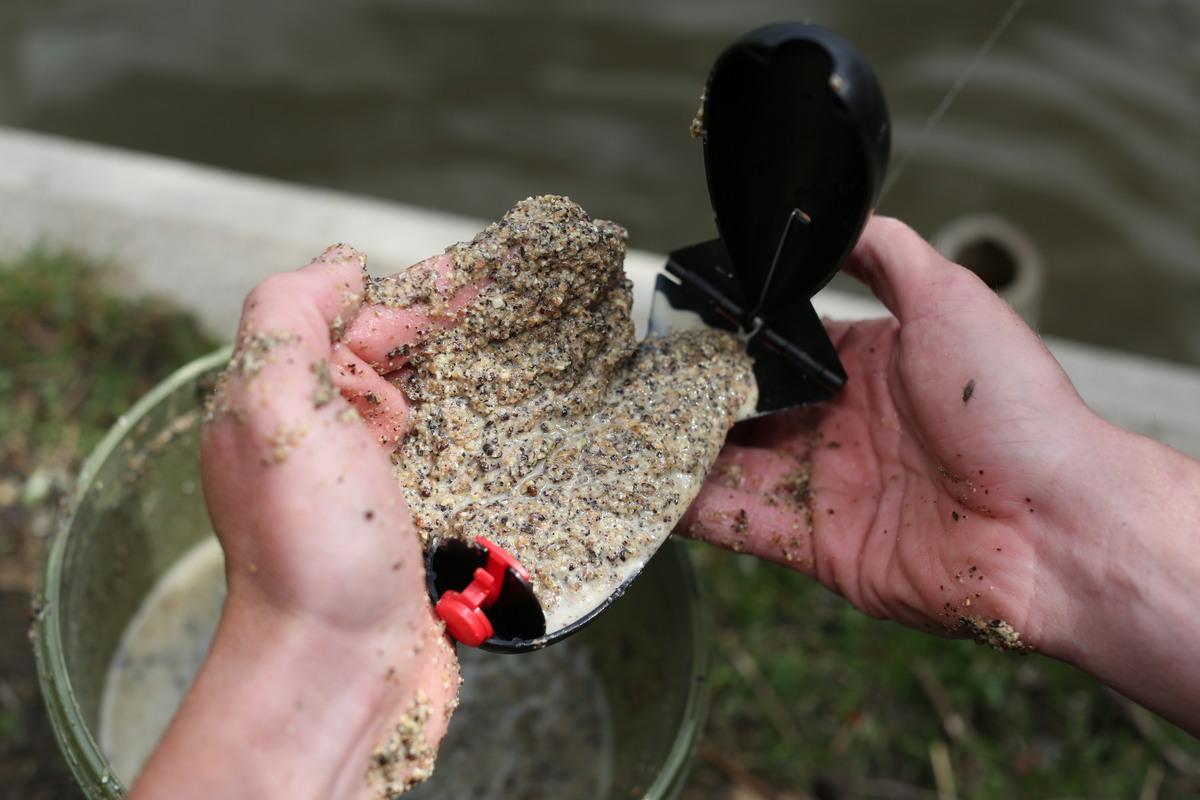
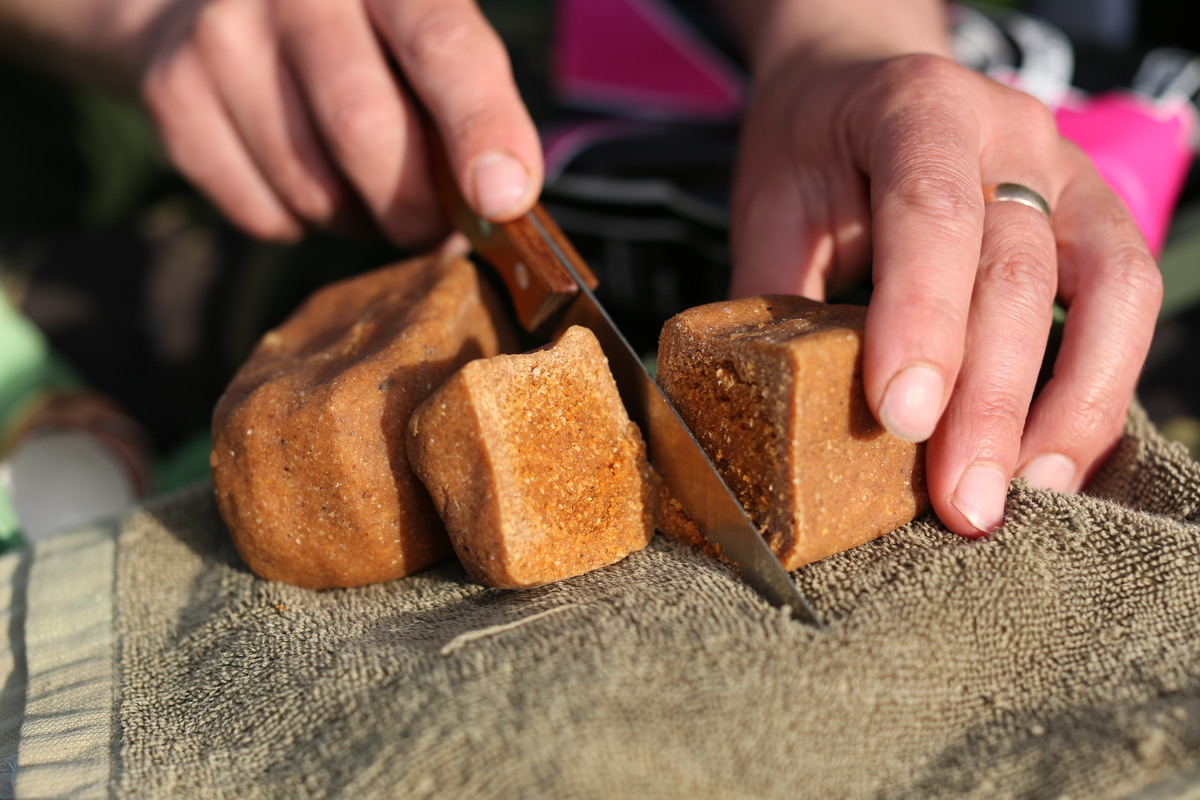
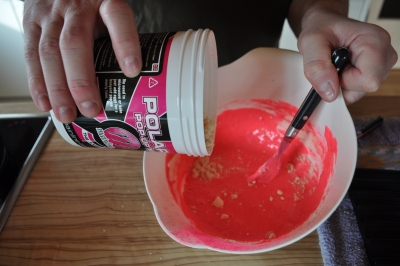
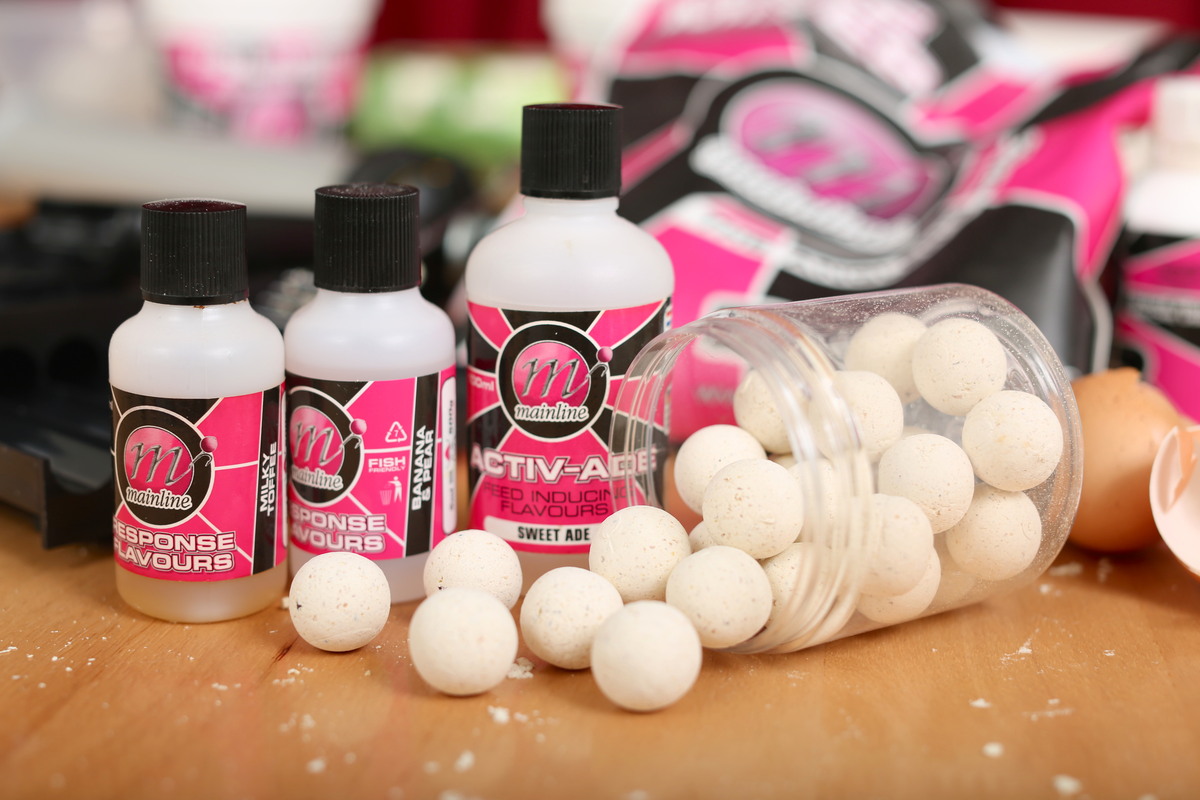
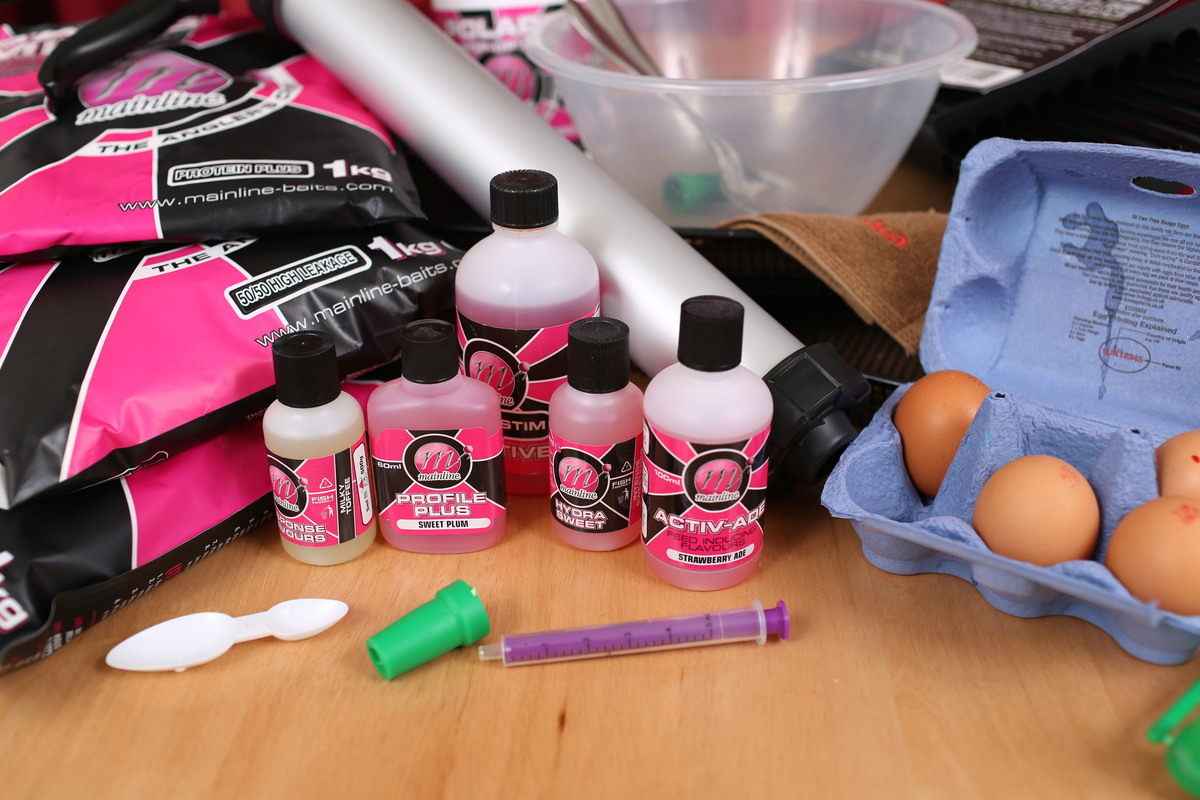
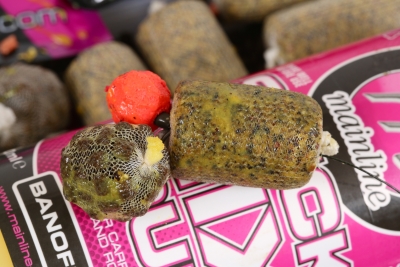
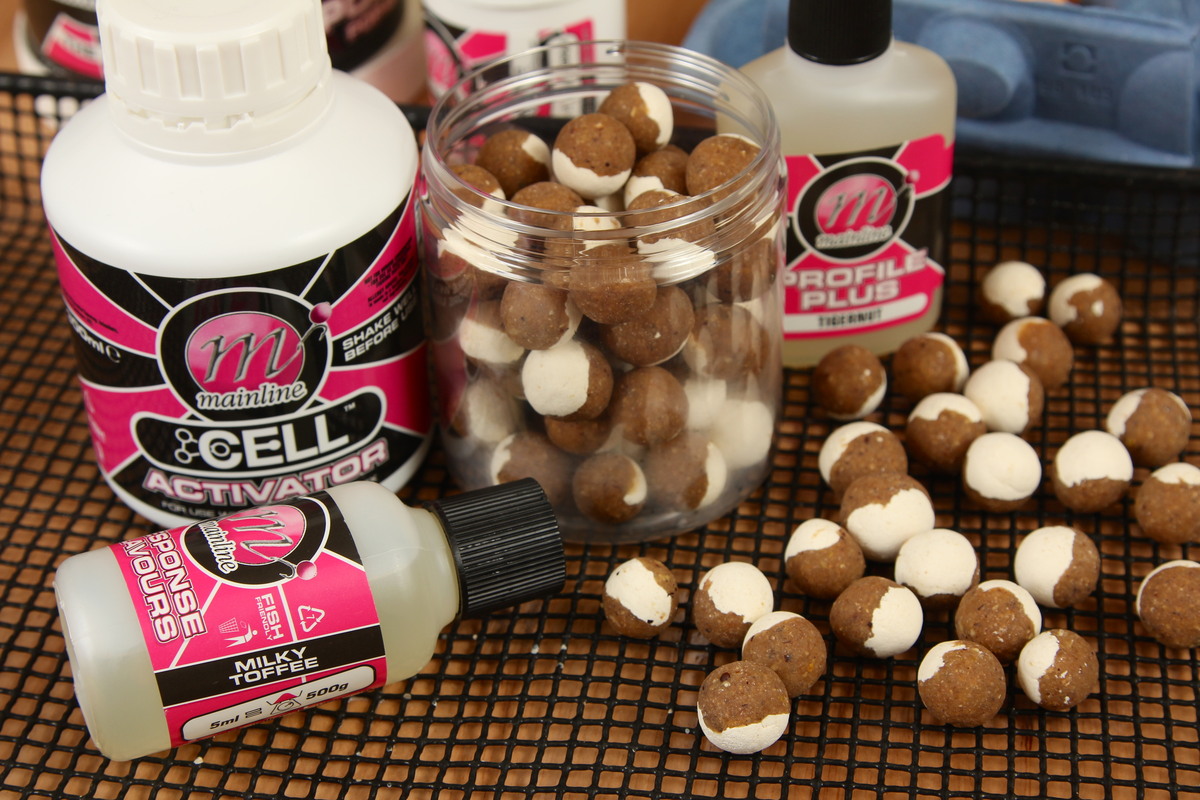
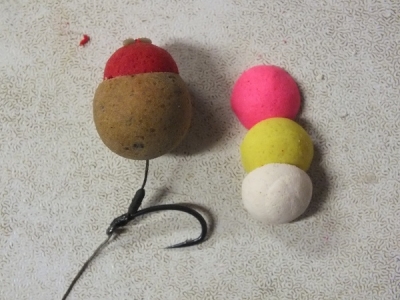
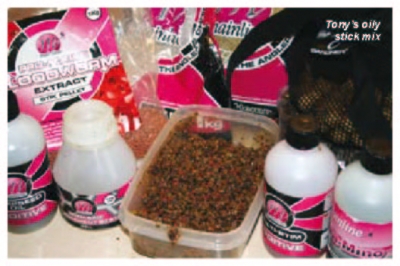
The Banoffee Mix
Simply mix these three baits as shown for a sweet, bright, high attract mix that’ll work we... read more
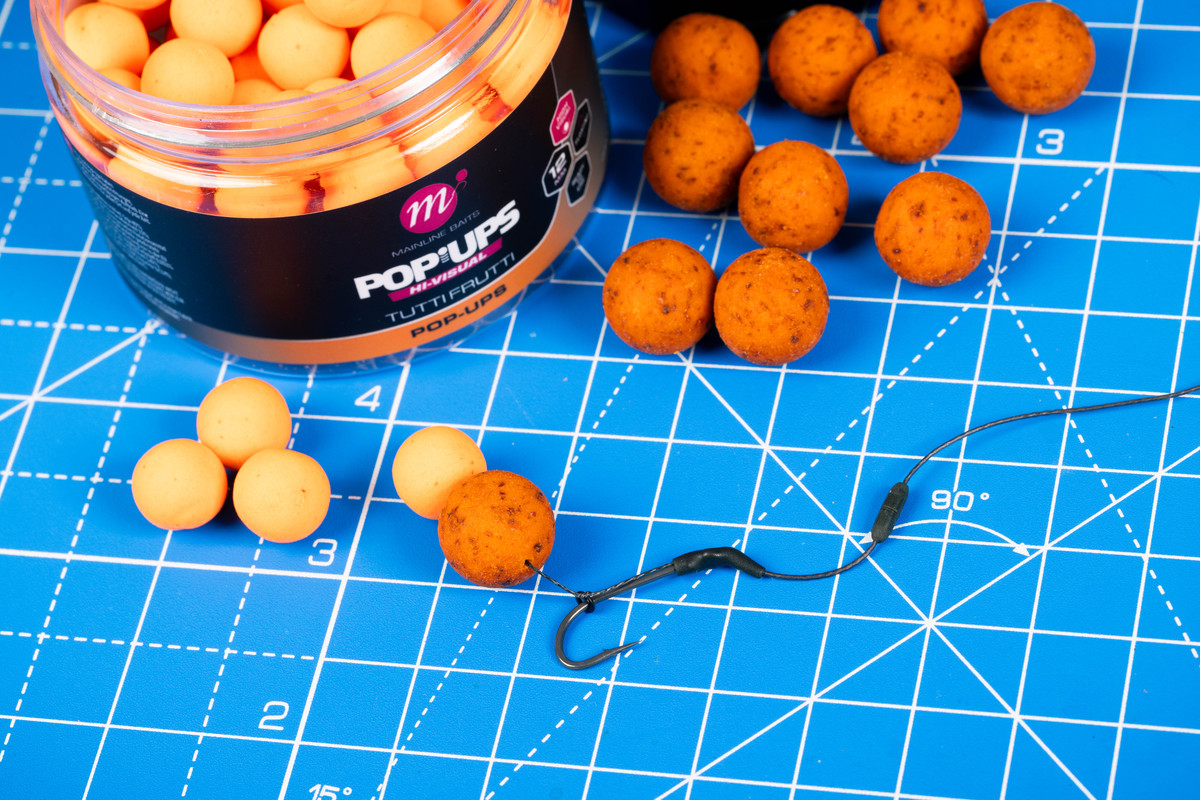
How To Tie The Hinge Rig
The mighty Hinge Rig, often referred to as a ‘big-fish’ rig is a pop-up presentation ... read more
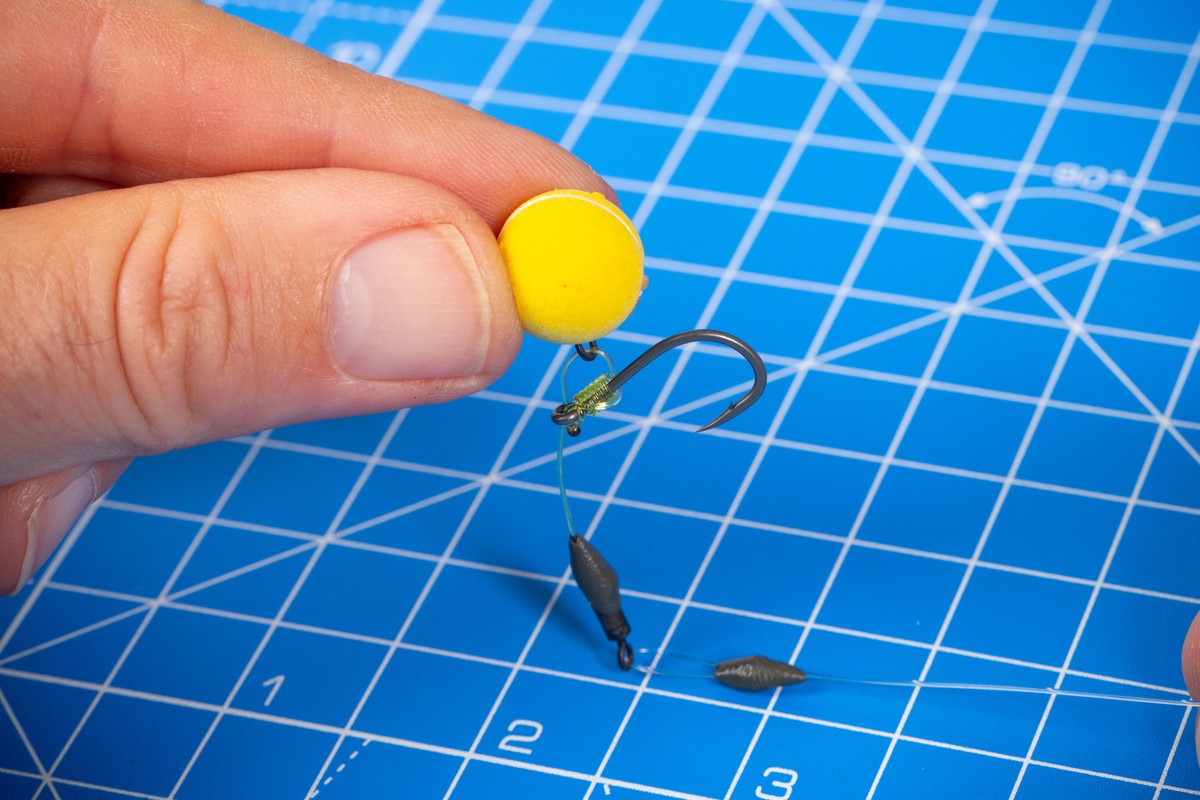
How To Tie The Simple Wafter Rig
Fishing wafters and tying up effective rigs for these hookbaits may seem tricky or complicated, b... read more
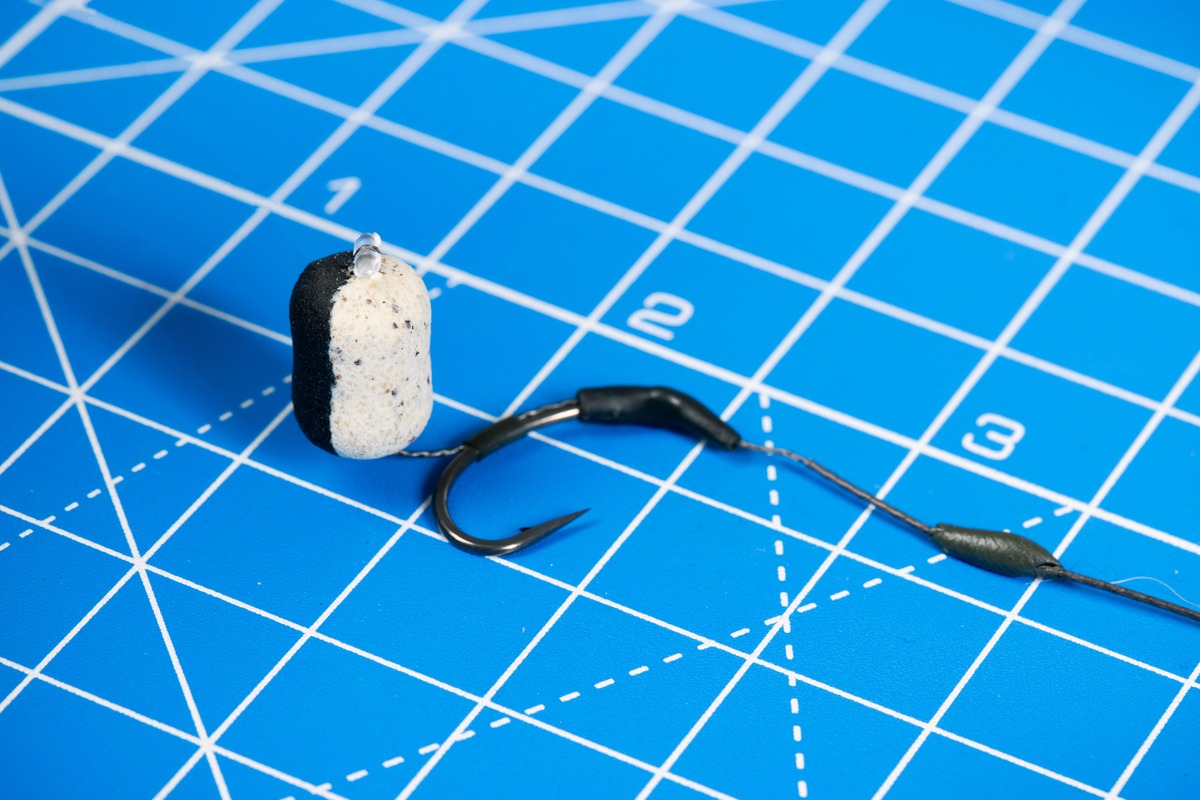
How To Tie The Long Shank Snowman Rig
Snowman Rigs have accounted for trillions of caught carp, and in this ‘HOW TO’ sequen... read more
Team Mainline Bait Favourites Dan Daneshi
Our Team Mainline anglers reveal their favourite, go to baits... read more
Team Mainline Bait Favourites Lawrence East
Our Team Mainline anglers reveal their favourite, go to baits... read more
Team Mainline Bait Favourites Jonny Old
Our Team Mainline anglers reveal their favourite, go to baits... read more
Team Mainline Bait Favourites Ian Chilly Chillcott
Our Team Mainline anglers reveal their favourite, go to baits... read more
Team Mainline Bait Favourites Dave Lane
Our Team Mainline anglers reveal their favourite, go to baits... read more
Team Mainline Bait Favourites John Kneebone
Our Team Mainline anglers reveal their favourite, go to baits... read more
Team Mainline Bait Favourites Dave Levy
Our Team Mainline anglers reveal their favourite, go to baits... read more
Team Mainline Bait Favourite Baits Darrell Peck
Our Team Mainline anglers reveal their favourite, go to baits... read more
Team Mainline Bait Favourites Aaron Copp
Our Team Mainline anglers reveal their favourite and go to baits... read more
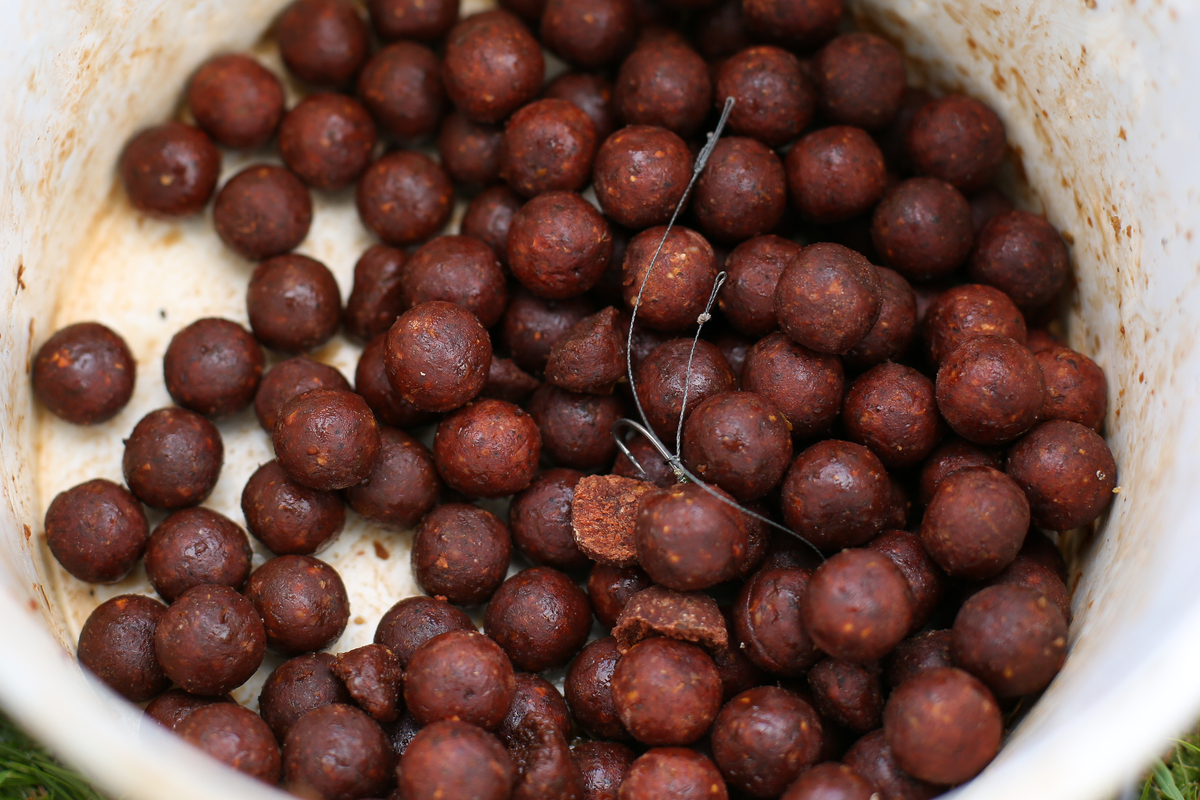
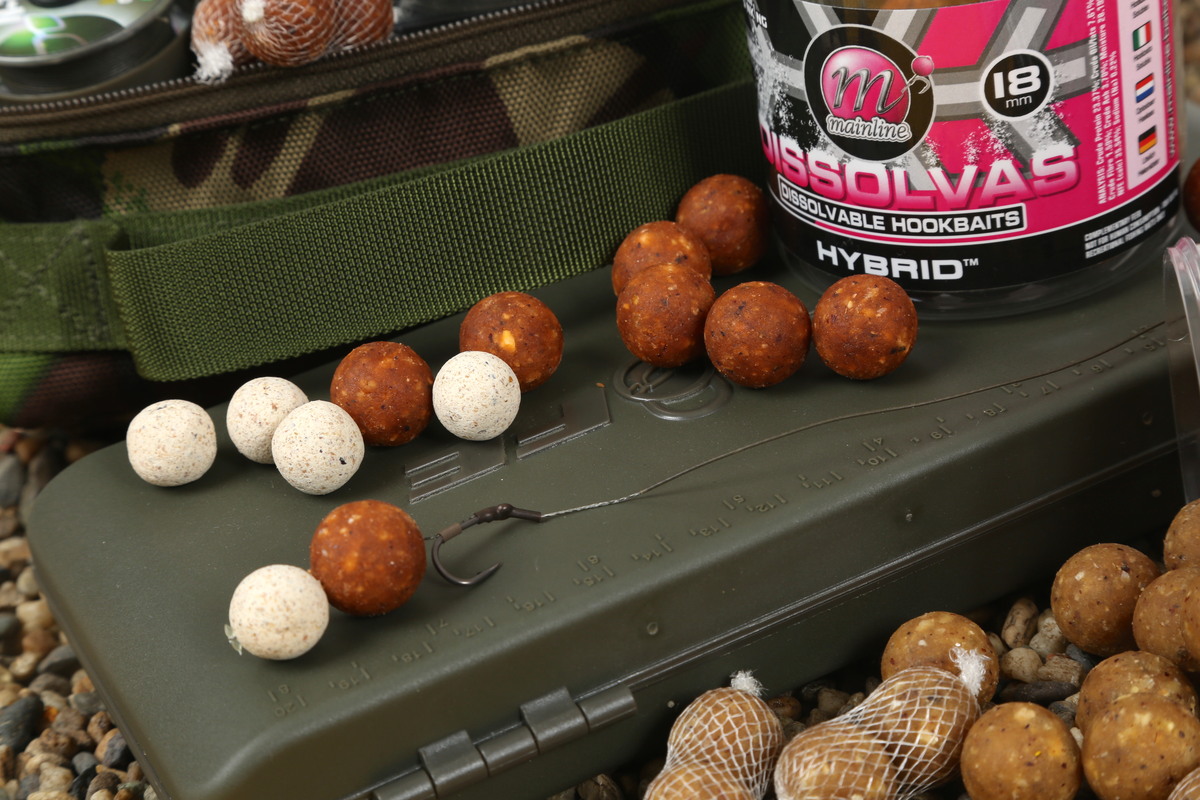
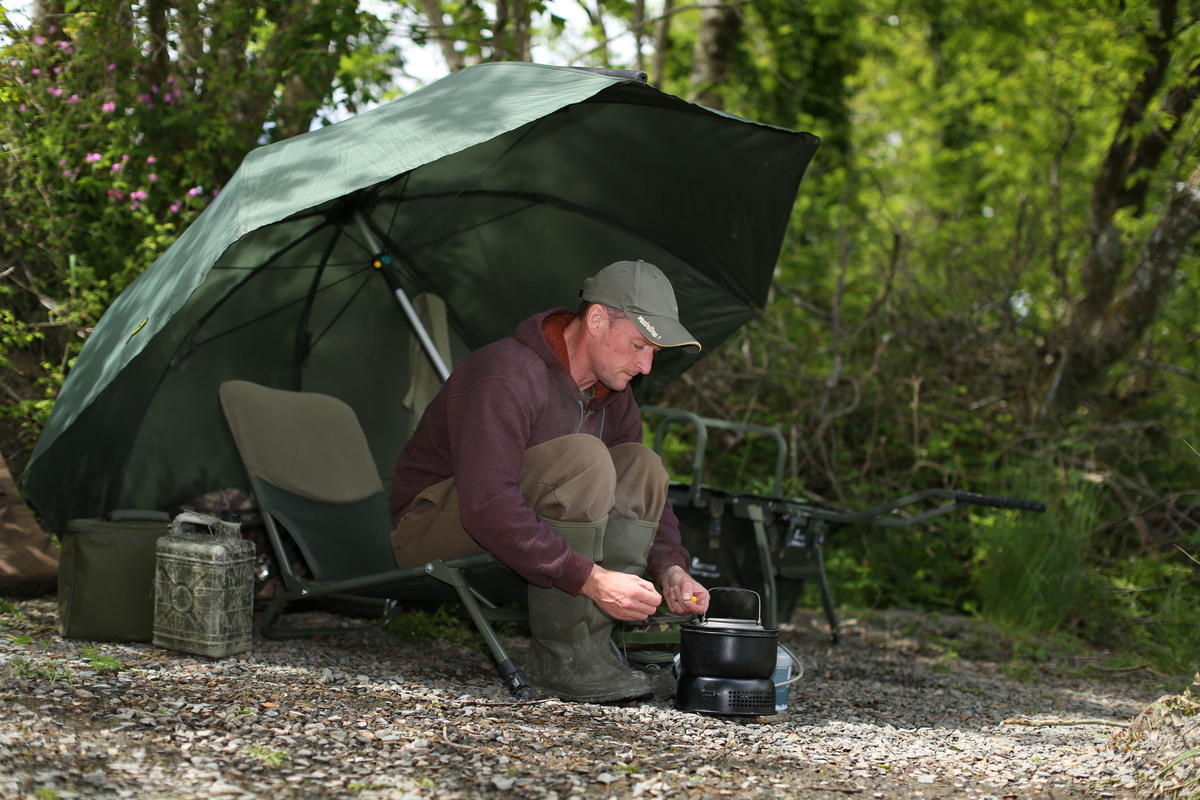
Boilie Fishing With John Kneebone
John Kneebone explains why he favours boilie fishing over all else! read more
Zigs But Better
Dave Lanes shares his top tips on Zig fishing and what he uses to maximise attraction! read more
The Ultimate Time To Be On The Bank
Adam Reed talks about his favourite time of the year to be on the bank! read more
Jon Shoes Jones
Jon Jones points you in the right direction when thinking about Zigs! read more
Sarah Brown Early Winter Tips And Tactics
Sarah Brown shares the tweaks she makes to keep the bites coming! read more
Lawrence East Winter Mix
Lawrence East shares his top tips on how you can adapt your summer mix to keep the bites coming t... read more

Open Water
Aaron Copp explains why he chooses to fish open water during the colder months! read more
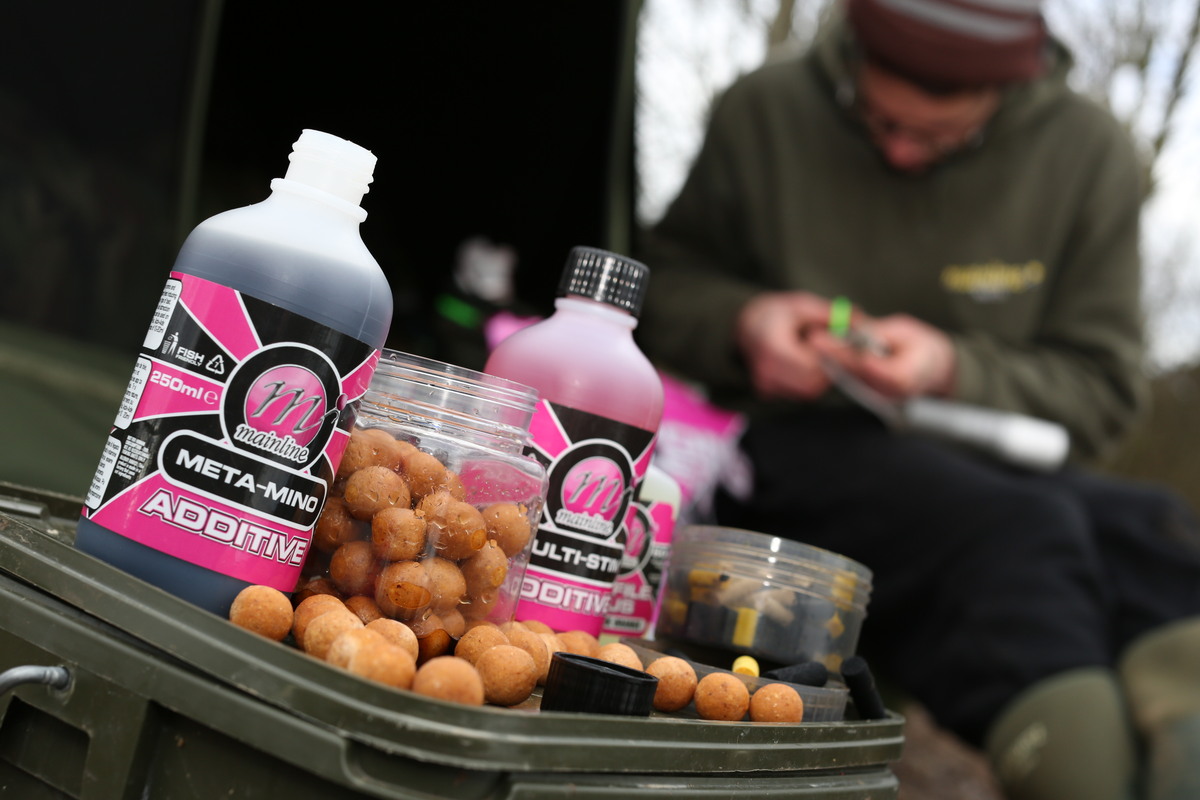
Liquids With Loz East
Lawrence East explains why he add liquids to his baiting approach at this time of year! read more
Dave Lane Super September
Dave Lane explains why this is his favourite time of the year to be on the bank! read more

Adam Reed On Maximising Your Chances Of Results
Adam Reed explains how you can maximise your chances of results! read more
Late Summer Particle Tips With Aaron Copp
Aaron Copp explains the importance of particles during this time of year! read more
Tom Dove On Keeping The Bites Coming
Tom Dove explains how adapting your approach throughout the summer can keep the bites coming! read more
Neil Spooner Making The Most Of Opportunities
Neil Spooner explains to you how to make the most out of your session regardless of the length of... read more
Late Summer With Dave Levy
Dave Levy gives his top tips on making this a productive time of year! read more
Rob Burgess Tips For Post Spawning
Rob Burgess explains the changes he makes to his baiting approach when fishing for extremely hung... read more
Loz East Baiting Tips
Lawrence East explains how he applies his bait to achieve bigger hits of carp! read more
Aaron Copp Mid Summer Tactics
Aaron Copp shares his top tips on capitalising on opportunities during mid-summer! read more
Sticky Syrups
Darren Cox tells you everything you need to know about Sticky Syrups... read more
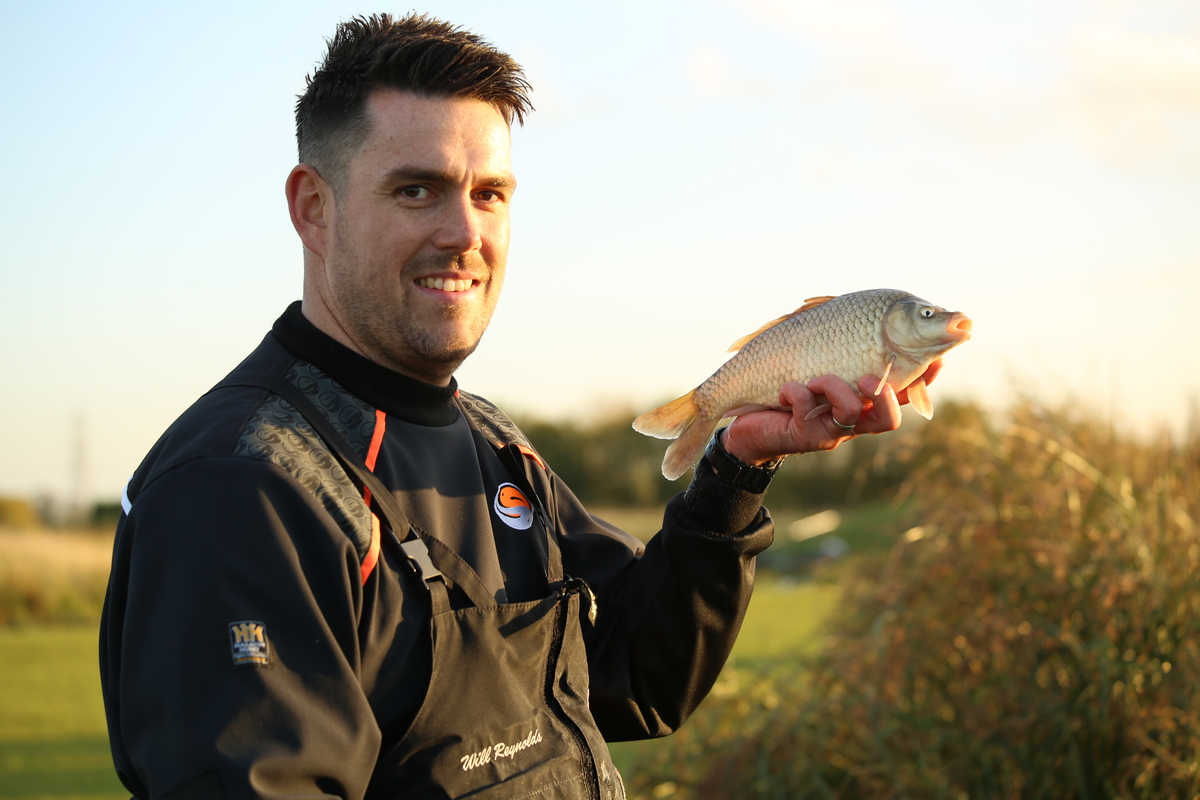
Luncheon Meat
Will Reynolds tells you everything you need to know about Luncheon Meat... read more
Expander Pellets
Pemb Wrighting tells you everything you need to know about Expander Pellets... read more
Expander Groundbait
Matt Godfrey tells you everything you need to know about Expander Groundbait... read more
Super Fine Pole Mix
Matt Godfrey tells you everything you need to know about Super Fine Pole Mix... read more
Activated Pellets
Frankie Gianoncelli tells you everything you need to know about Activated Pellets... read more
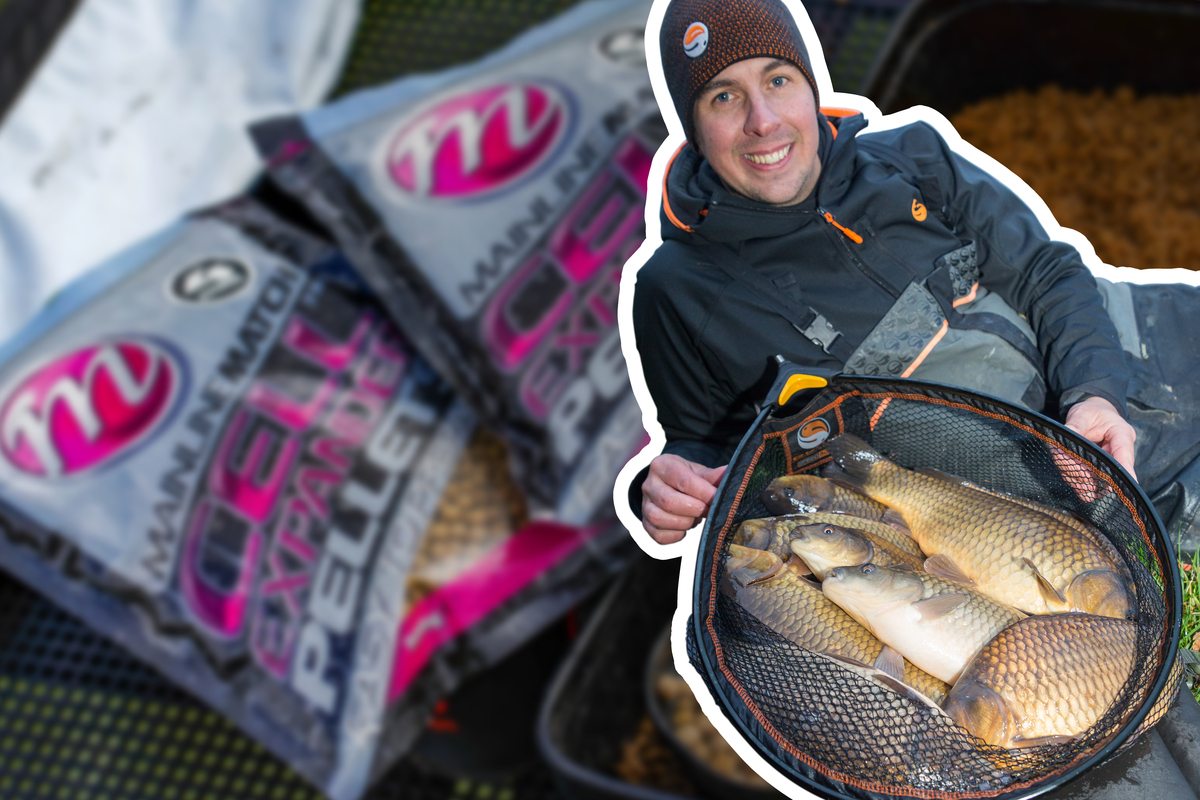
Activated Carp Cell Pellets
Will Reynolds tells you everything you need to know about Activated Carp Cell Pellets... read more
Syndicate Life Part Two
In part two of Syndicate life Dave Rowe talks through after lockdown at Thorney! read more

Dave Lane Summer Success
Dave Lane explains why he chooses not to chase around after surface cruisers! read more
Summer Tips With Darrell Peck
Darrell Peck shares his tips on summer locations and baiting approach! read more
Summer Strategy With Adam Reed
With fish spending large amounts of time cruising around and basking in the sun, the general rule... read more
Dave Lane Spring 101
What to do when the time comes to start introducing bait onto your spots! read more
Big Fish Tactics With Darrell Peck
Big fish angler Darrell Peck reveals his go to tactics for the early part of the season! read more
Aaron Copp Spring Tips
Aaron Copp explains how he adapts his approach as water temperatures increase during spring! read more
Lawrence East Post Lockdown Tips
Mainline carper Lawrence East goes through his top tips on a successful return to the bank after ... read more
Winter Jobs
JOHN KNEEBONE EXPLAINS HOW CATCHING CARP IN SPRING AND SUMMER CAN ALL START IN THE DEPTHS OF WINT... read more
Horton With Dave Levy
FISHING A TRICKY WATER ON LIMITED TIME? DOESN'T MEAN YOU CANT CATCH BIG FISH! AS DAVE LEVY EXPLAI... read more
The Time Of Change
Zigs are exceptional in March, and your winter baited spots will still produce as well. read more
Spring Tips
Spring is on it's way so we asked Mainline's Adam Reed to share his top tips with you! read more
Have A Game Plan But You Must Be Flexible
Aaron Copp explains the importance of having a plan in place but be prepared to adapt and maximis... read more
Kick Start Your Winter
Darrell Peck explains how he approaches the first few months of winter fishing - a bite at a time... read more
Dave Lanes Winter Tweaks
Dave Lane explains the small tweaks and adjustments he makes to his approach throughout the coole... read more
Lawrence East Solid Pva Bag Method.
Lawrence East explains why his go to method for catch carp all year round is Solid PVA Bags! Givi... read more
Winter 101
Adam Reed gives his top tips on successful winter carping from keeping warm to locating carp! read more
Another Year Goes By On Burghfield
John Bartley documents his year fishing Burghfield! Giving you his tips on baiting on a crayfish ... read more
Brighten Up Your Winter
Consistent carp-catcher, Lawrence East reveals one of the simple and straight forward tactics he ... read more
Particle Power
FROM A HIGHLY ATTRACTIVE FEED TO PROVIDING SUPER TOUGH HOOKBAITS, NEIL SPOONER EXPLAINS WHY YOU S... read more
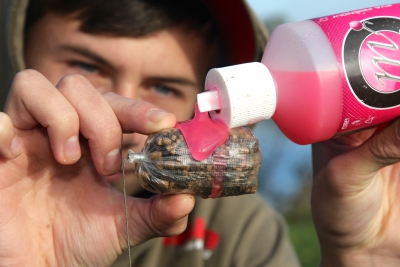
Spray Your Baits And Boost Your Catch
DAVE LEVY EXPLAINS WHY HE'S KICKING HIMSELF FOR NOT USING HIGH ATTRACT LIQUIDS SOONER... read more
Syndicate Life
EVERYONE WOULD LOVE TO RUN THEIR OWN FISHERY, RIGHT?! WELL DAVID ROWE HAS FULLFILLED THIS DREAM W... read more
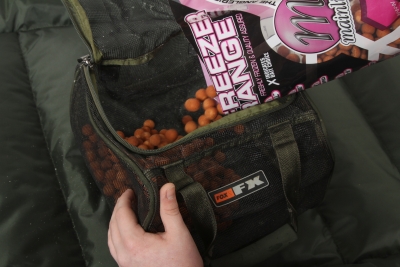
Freezer Bait Enhancement
HAVING PROBLEMS KEEPING YOUR BOILIES IN TOP CONDITION ON THE BANK? WELL DAVE LANE HAS THE PERFECT... read more
Holiday Carping
KORDA KOACH, ROB BURGESS GIVES HIS TOP-TIPS FOR FISHING COMMERCIAL LAKES IN FRANCE... read more
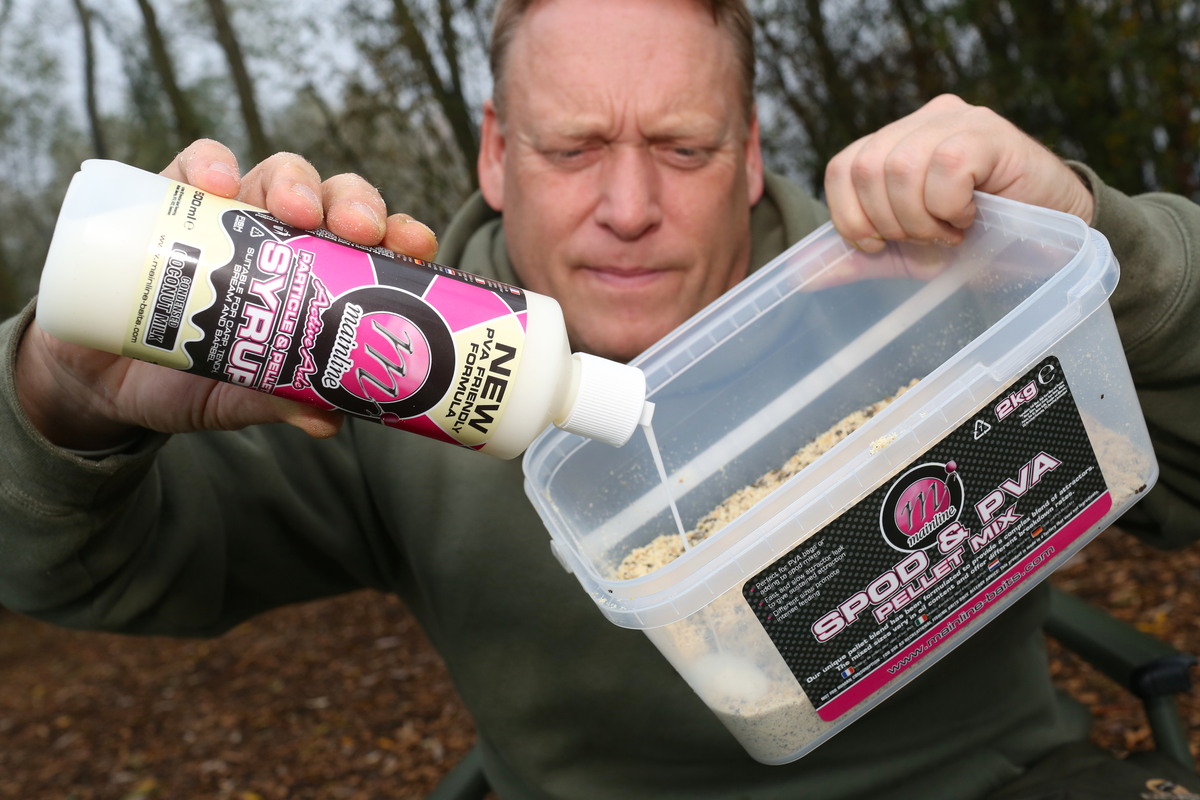
Prepare To Catch
LAWRENCE EAST REVEALS HOW AND WHY HE PREPARES SYRUP INFUSED BOILIE MIX! read more
Recipe For Success
Monster Carp star Ali Hamidi reveals how you can give your approach a unique edge with the same c... read more
The Link To Success
Tommy De Cleen recalls a recent 'Red Letter' session following a sure and steady The Link boilie ... read more
The Importance Of Colour
Tom Dove explains why your approach should include various colour options when it comes to hookba... read more
Tackling Your Syndicate
Adam Reed has enjoyed some immense big-fish results fishing his southern syndicate water this yea... read more
Confidence 365
Stuart Higgs reflects on a successful summer catching some stunning carp from numerous venues inc... read more
Colour Is Key
Austrian carper, Felix Hetzmannseder gives a brief insight into why he places so much faith into ... read more
Solid Success
Mainline carper, Lawrence East explains why and how he uses solid PVA bag presentations so much a... read more
Beat The Silt
Mainline carper, Tom Gibson reveals the baiting strategy he has been using to great success on hi... read more
Moorlands Magic
Consistent carp-catcher, Duncan Arrandale recalls a recent trip to Moorlands Fishery in France, p... read more
Summer Solstice Success
Dutch carper, Erik Hurxkens gives a brief round-up to a memorable session fishing the beautiful C... read more
Bite Balance
John Kneebone finds quick bite success in something old and something new! read more
Match Matrix
Q&A: We talk to reknowned international match carpers, Billy Flowers and Jamie Londors! read more
Mick Tuck Blog
Club waters, Syndicate, a trip to France and work night sessions - Mainline carper, Mick Tuck rec... read more
Chasing The King Of The Pond
Mainline angler, Dave Springall met up with fellow Mainline carper, Lee Randall recently to find ... read more
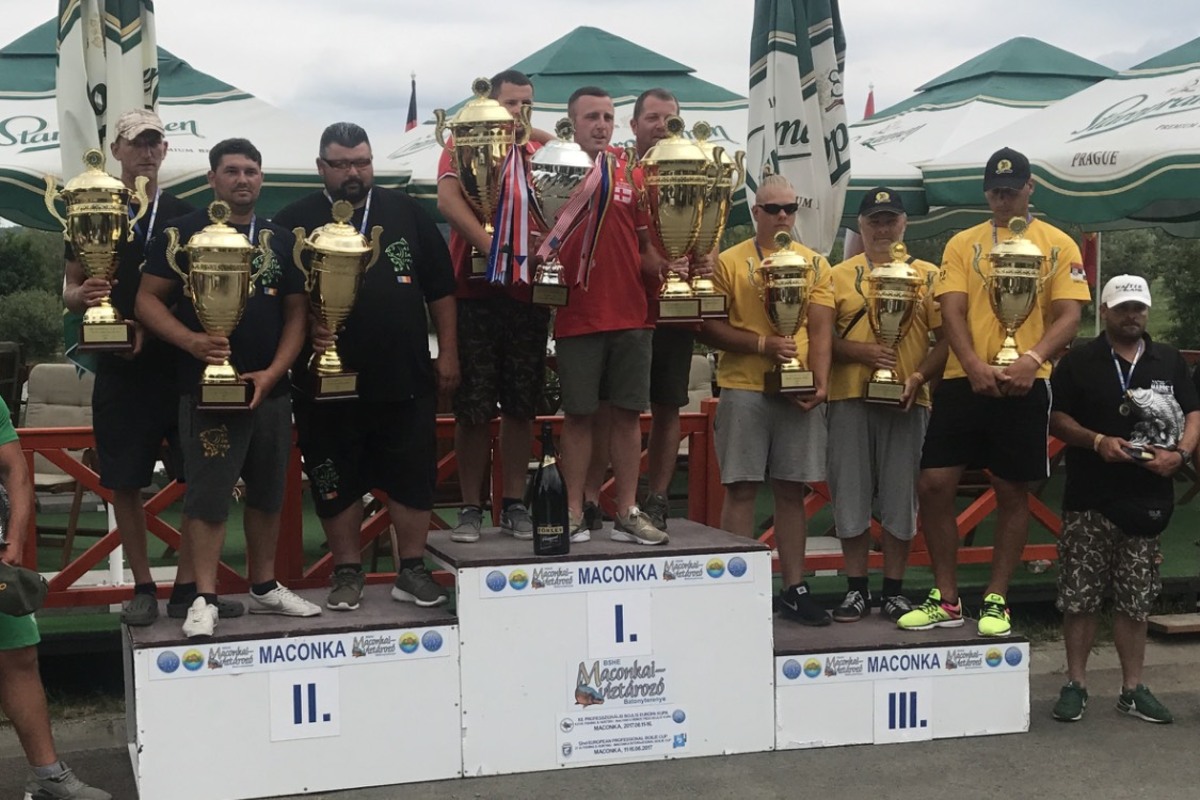
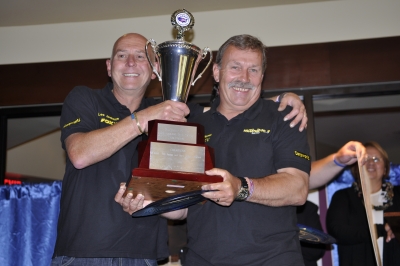
European Professional Boilie Cup Champions
Mainline's Billy Flowers recalls an historic back-to-back European Professional Boilie Cup win! read more
The Quarry A New Uk Adventure
Belgian carper, Tommy De Cleen embarks on a carping adventure to cross the channel and fish some ... read more
Fishing Large Lakes
South West carper, Amy Maunder explains how fishing large waters may seem a daunting idea, but is... read more
Chod Rig Help From Team Mainline
Top carpers from the Mainline Team give their advice and tips for fishing the ever popular Chod R... read more
Boilie Tips From Team Mainline
Top carpers from the Mainline Team give their advice and tips to answering commonly asked questio... read more
Liquid Attraction Tips From Team Mainline
Top carpers, from the Mainline Team help you catch more carp with some liquid attraction tips... read more
Feature Finding Tips From Team Mainline
Top carpers, from the Mainline Team help you locate the perfect carp-catching spot... read more
Souper Zig Mix Quick Fire Questions
Windsor carper, Wayne Mansford explains everything you need to know about the Souper Zig Mix... read more
Hookbait Tips From Team Mainline
Top carpers from the Mainline Baits team answer some commonly asked hookbait queries with some gr... read more
Winter Questions Answered
The Mainline Baits Team answer some commonly asked questions regarding fishing in winter... read more
How To Make A High Attract Pva Stick
South West carper, Amy Maunder answers a commonly asked question: which Stick Mix do I choose for... read more
Method Feeder Carping
Mainline's John Kneebone explains why this quick and simple method needs to be part of your appro... read more
My Wcc Journey 2016
John Cooper recalls his match sessions fishing the Welsh Carp Championships with angling partner,... read more

Day Session Delight
South West carper heads to a Devon water for a productive day session... read more
An Interview With An Innovator - Part Two
John Kneebone continues to pose the questions and pick the brains of Colne Valley carper, Kenny D... read more
Boilie Fishing Masterclass
Mainline carper, Elliott Grey gives you every piece of info you need for fishing with boilies eff... read more
An Interview With An Innovator - Part One
His initials are embedded in carp history, yet somehow the man behind the name remains under the ... read more
Matching The Scenario
John Kneebone takes a look at choosing the right hookbait for the fishing situation - in this cas... read more
Target Fishing
Mainline carper, Jack Brown explains how fishing tightly to one spot is not just a 'big-hit' tact... read more
Marne Valley Result
Nick Hill recalls a recent and very memorable trip to Marne Valley in France - armed with Essenti... read more
Winter Rainbow
Mainline carper, Alan Taylor and friend Alex Pistols travel to the famous Rainbow Lake in France ... read more
Hitting The Surface
Mainline carper, Jack Brown reveals his thoughts tactics behind one of his favourite methods of c... read more
Tackling Bigger Waters
Cornish carper John Kneebone explains how fishing larger lakes can be a lot easier than you think... read more
Stabile Success
Mainline carper, John Kneebone explains how and why its so important to stick with a focused appr... read more
My Angling Highlight Of 2015
Cornish carper, Tony Welch travels to Old Mill in Devon in search of carp and a little mystery... read more
The Secret Pit
Dean Macey recalls a memorable and very special trip to a private lake in France... read more
A Trip To Cherpont - A Week To Remember
Young Mainline carper, Rob Greening recalls an 'arm aching' trip to Cherpont Lake in France... read more
Hauling At Tamar
Cornish carper, Tony Welch recalls a recent 'red-letter' trip to Upper Tamar Lake... read more
Summer On The Sitch - Part One
Jon 'Shoes' Jones recounts the beginning of a new carping chapter on the Sitch... read more
River Baiting
Mainline carper, Roman Buczynski gives an insight into one of his favoured challenges - catching ... read more
Zig Fishing Only Easier
Windsor hauler, Wayne Mansford reveals his know-how for making a tactic that may seem tricky a ve... read more
A Belgian Break
Scott Callison recalls a recent trip across the channel to fish the canals of Belgium... read more
Get On The Brick
In this feature we take a look at an 'old school' trick with a modern edge... read more
Short Session Success
Tony Welch reveals his tips and tactics used in his recent short sessions... read more
Alan Taylors Blog
Mainline carper, Alan Taylor gives his run down on a recent trip to Rainbow Lake in France... read more
Big Carp Rigs
Dave Levy reveals his favoured rigs for three different types of fishing... read more
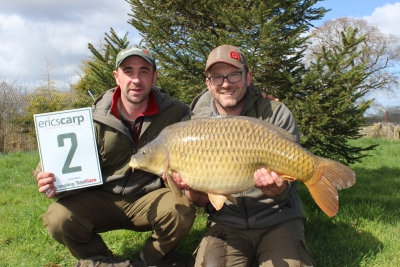
Erics Carp Champs Blog
Jerry Bridger gives us this update on a tense qualifying carp match at Merrington Carp Fishery read more
Digger Lakes Catch
Ricky Thomas, recalls a recent session at Digger Lakes in Devon... read more
Bring Me Sunshine
Tony Welch gives you a round-up on a recent session and how and why the increased hours of daylig... read more
Up And Running
Keen to get his angling year started Mainline carper, Jack Brown heads over to Thorpe Lea to samp... read more
Attracting Bites
Kev Knight, explains how to nick a few bites even when time and conditions are against you... read more
Wie Stelle Ich Hochattraktive Pop-ups Selbst Her
Wie Polaris Pop-ups mit Tobias Pfliegel machen read more
Readymade Success
Top Mainline carper, Dave Levy explains how to utilise the high-attract pulling power of shelf li... read more
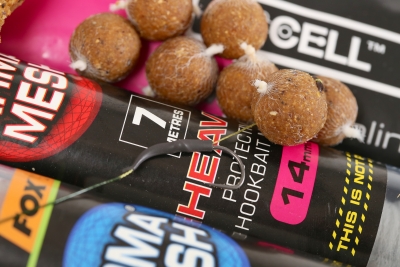
How To Tie-up Glugged Solid Pva Bags
Mainline carper, Harry Law explains why he feels solid PVA bags are such a good tactic and how he... read more
Balanced Bites Part Two
Ali Hamidi concludes his two-part article explaining his favoured methods for utilising the Balan... read more
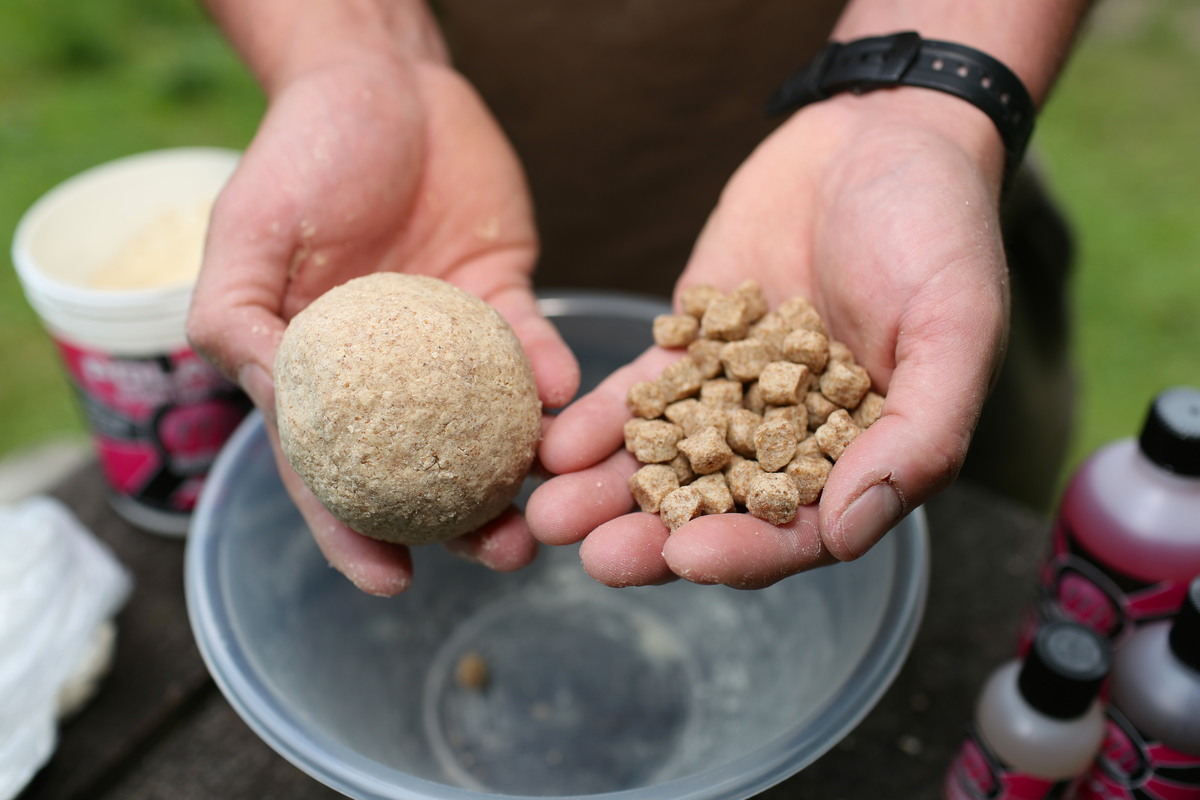
How To Make High Attract Winter Boilies
In this feature we show you how to roll a high attract boilie thats flavours lend themselves to w... read more
The Boilie Life Cycle
Everything you need to know about boilie care - from storage right through to rehydrating air-dri... read more
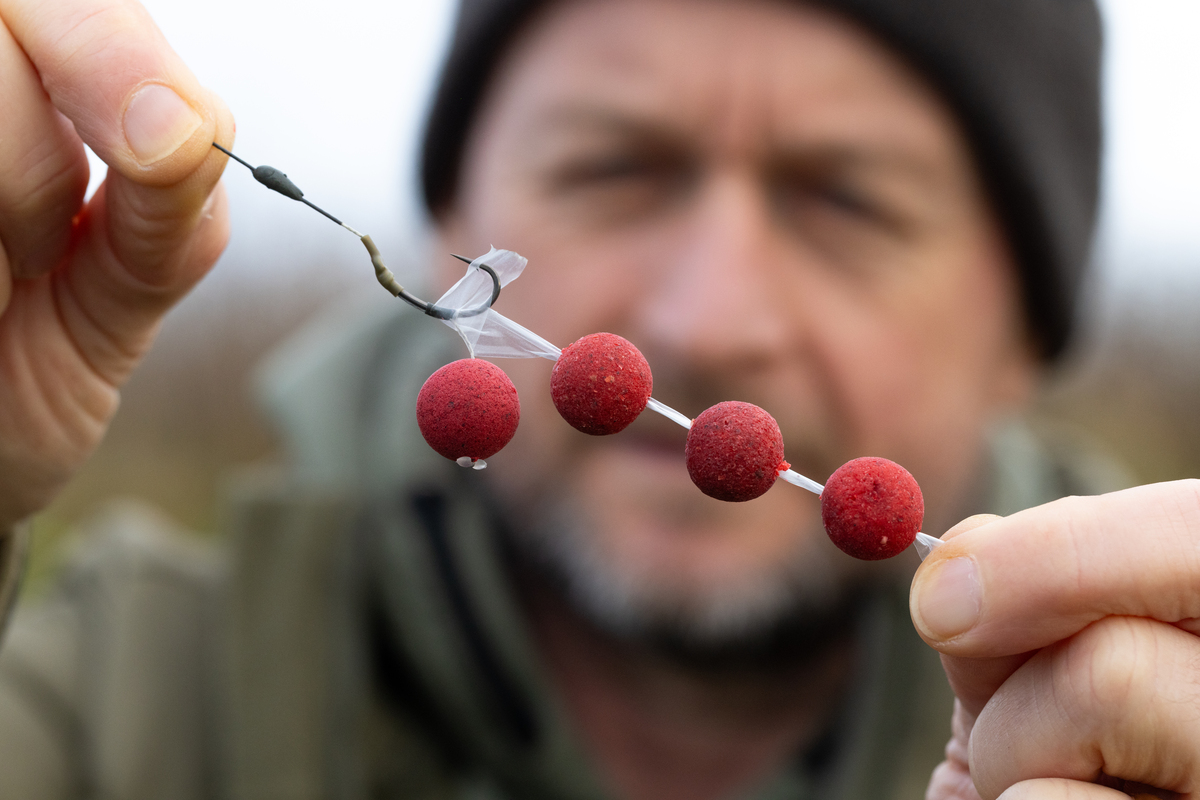
Fishing Single Hookbaits
Fishing 'singles' is one of the most popular quick bite tactics going that also a great approach ... read more
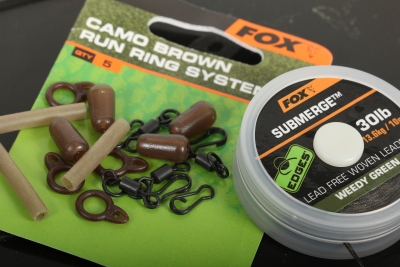
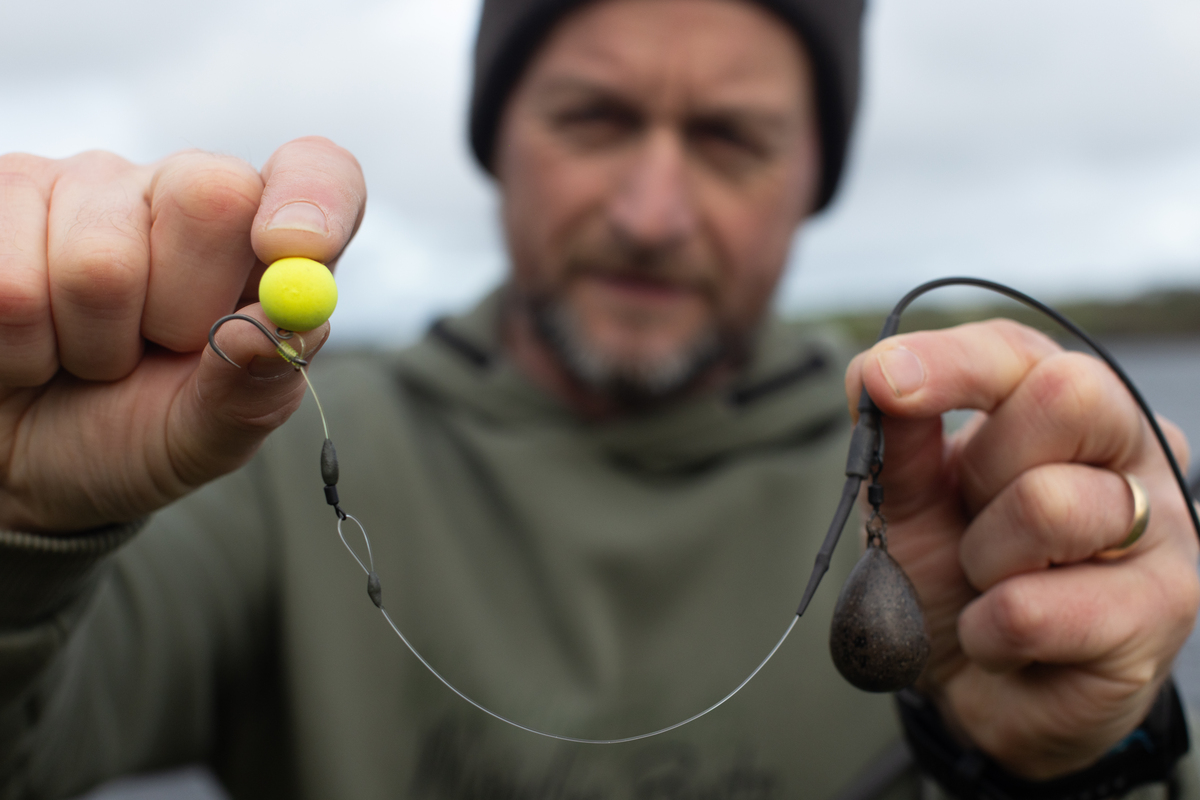
The Running Rig
Our How, Why and When guide to this simple and effective lead arrangement. read more

Balanced Bites Part One
Mainline carper, Ali Hamidi reveals how using 'critically-balanced' baits couldn't be easier than... read more

How To Make Cork Dust Pop-ups
This feature shows you all you need to know when it comes to one of the ways of creating 'custom'... read more
Early Winter Success
Southwest carper Ricky Thomas reports on a successful trip to Furzebray Lakes in Devon... read more
How To Make Wafting Hookbaits
In this article learn how to make your own 'critically-balanced' Wafting Hookbaits... read more
How To Make High-attract Polaris Pop-ups
Find out everything you need to know from a suggested recipe to the rolling process for making yo... read more
Triple Action Attraction
Triple Action Attraction - Three feed stimulating signals from one bite inducing presentation! read more
Faq With Ian Chilly Chillcott
Top Mainline carper, Ian 'Chilly' Chillcott gives his answers and advice to frequently asked ques... read more
Faq With Dave Lane
Top Mainline carper, Dave Lane gives his answers and advice to frequently asked questions... read more
How To Make Spod Mix Boilies
This feature covers everything you need to know for making your own Spod Mix Boilies - a custom b... read more
How To Improve A Barbless Hook
In this article we give you eight top-tips to you improve the performance of barbless hooks and h... read more
Brighten-up Your Catch-rate
Mainline Carper, John Kneebone reveals why bright 'stand-out' hookbaits are now so important to h... read more

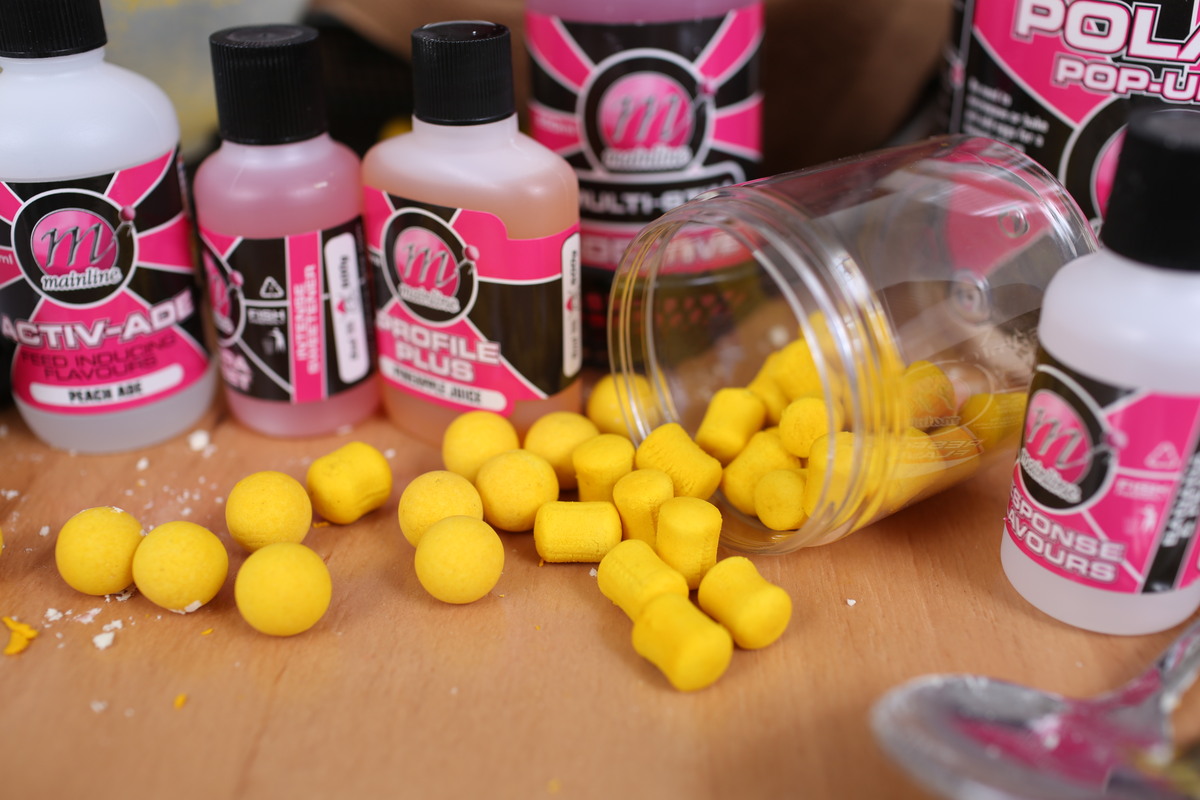
Catch More With Liquids
Find out how you can generate a feed response with liquids to catch more fish... read more
How To Make Floater Fishing Hookbaits
Including a suggested recipe and the equipment you'll need, this feature covers everything you ne... read more
How To Make Snowman Hookbaits
This bait rolling step-by-step guide gives you all the information and know-how you'll need to st... read more
How To Make Cork Ball Pop-ups
From a suggested recipe to the equipment and process to follow - this feature shows you how to st... read more
How To Make Two-tone Pop-ups
Including a suggested recipe and the equipment you'll need, this feature covers everything you ne... read more
Back In The Game
Cornish carper, Tony Welch reflects on a recent session on his local venue, Argal Lake... read more
Its Good To Be Back
Belgian carper, Tommy De Cleen tells you a little about why he is so pleased to back fishing with... read more
My Introduction To Mainline Baits
Les Bowers recall the events and indeed reasons behind his realisation that he needed to be on th... read more
Welcome To The Jungle
In this article Mainline carper, Tony Welch describes how he tackles thick weed and deep silt... read more
Tonys Carp Column - Pt2
Mainline team member, Tony Welch continues his series of articles and carping updates! read more
My Favourite Presentation - The Hinge Rig
Mainline carper, Scott Callison give the low-down on his number one presentation - The Hinge Rig read more
Singling Them Out
In this article Mainline carper, explains how and why single hookbait fishing with our Hi-Vis pop... read more
Bang Out Your Bags
In this article Mainline carper, Ricky Thomas talks about one of his favourite presentions, espec... read more
Fishing Heaven - Gillhams Fishing Resort In Thailand
This article from Mike 'Spug' Redfern is crammed full of some quite amazing captures, but not the... read more
Matt Eatons Mainline Blog Oct 2012
Another great carping blog from Mainline carper Matt Eaton. read more
Tonys Carp Column - Pt1
Mainline team member, Tony Welch, begins a series of articles and carping updates! read more
Matts Blog September 2012
He's been taking on new waters and venues crammed full of weed - Matt Eaton is back with another ... read more
Fluro Towers A Visual Advantage
In this this short article David Chancellor gives the low down on one of his favourite presentati... read more
Short Session Success
In this this short article Mick Tuck gives a review on some recent success from a quick overnight... read more
Bait Favourites
In this article Mainline Consultant, Matt Eaton gives the low down on one of his favourite bait a... read more
Fishing Abroad
In this article, experienced Mainline carper, Alan Taylor, lets you in on some the edges he has u... read more
Solid Bag Fishing
In this article, Tony Welch explains his methods when using a Solid PVA Bag approach utilising so... read more
First Session Success
In this latest Blog article Mainline Consultant, Lee Collings details his first trip to a new ven... read more
Dels Adventure
Here's the first installment of a NEW Blog from Mainline consultant Derek 'The Don' Ritchie. With... read more
Get Ready For France
In this article, Mainline carper, Tony Welch gives a few tips for a successful trip to France. read more
Matt Eatons Mainline Blog March 2012
After a late winter freeze, Matt is back on the bank in search of a spring time carp! read more
Winter Blues
In this article Mainline Team Member, Tony Welch looks back at the harshness of last winter and h... read more
On Top Of The World - Pt2
Carp World Magazine Editor, Tim Paisley rounds off his interview with Ian Chillcott and Lee Jacks... read more
Blackcurrant Specials
In this article Cornish carper, Tony Welch talks about how and why he likes to make his own speci... read more
Mainline Baits Developed For Quick Success With Long Term Results
In this article Mainline Consultant, Mick Tuck writes about one of his all-time favourite baits A... read more
On Top Of The World - Pt1
In this article Carp World Magazine Editor, Tim Paisley talks to Ian Chillcott and Lee Jackson ab... read more
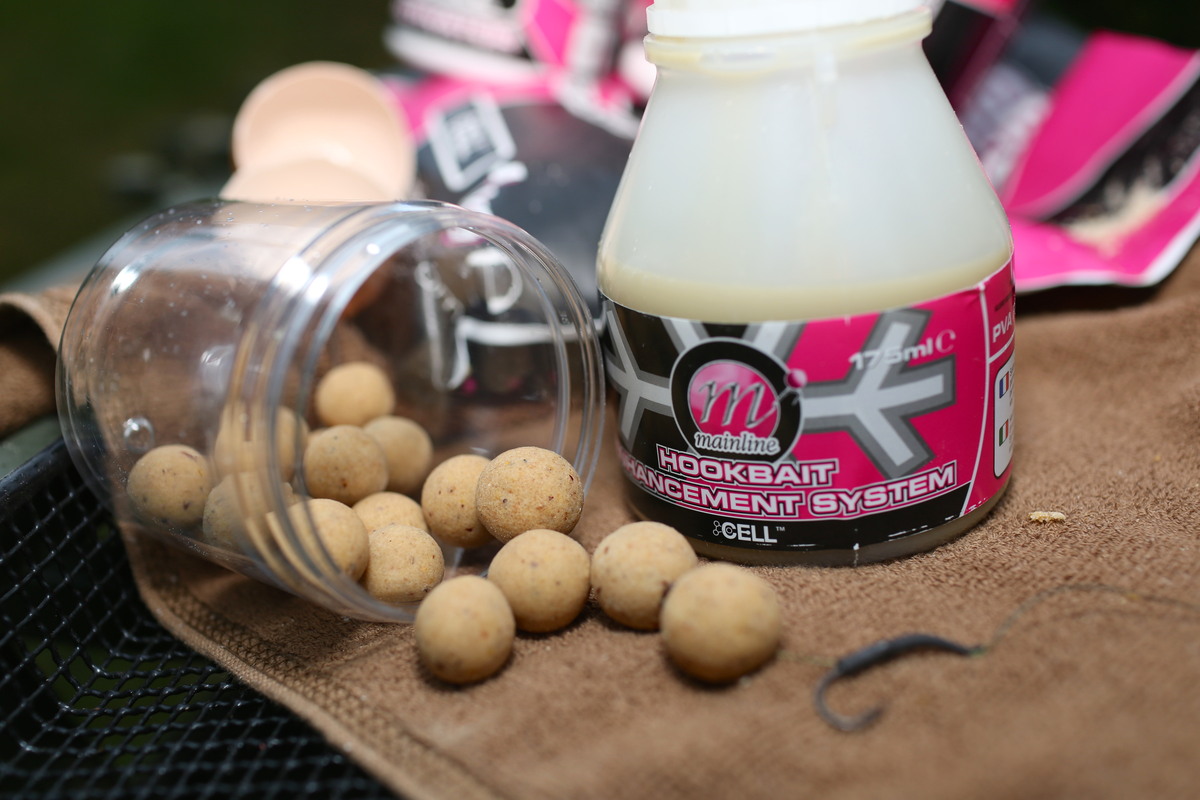
Enhanced Thoughts
In this article, Mainline Consultant Matt Eaton takes a look at various ways to enhance your hook... read more
A Lifetime Of Mainline
In this article one of Mainlines longest serving and most experienced Consultants, Mike Kavanagh ... read more
Mainline Cell Mainline Magic
In this article Mainline carper, Shaun Mitchell explains why he rates the Mainline CELL range of ... read more
Safety First
In this article, Mainline consultant, Tony Welch talks about fishing safely and... read more
Stick It To Em
In this article Tony Welch explains how he likes to put together and use PVA sticks. read more
Matt Eatons Mainline Blog Oct 2011
Matt gives us the low-down on his autumn carping! read more
Donkey Chockers
In this article, Mainline consultant, Richie Latham, explains why it can be worth increasing the ... read more
On The Spot
Much of my fishing, particularly through the winter and spring months, is single hookbait fishing... read more
Effort Equals Reward
Mainline consultant, Lee Collings, may not have too many big fish venues close to home, but as yo... read more
All Change
In this article Mainline Consultant, Mick Tuck, talks about a new venue and a new challenge! read more
Syrup Soaking Success
In this article, Mick Tuck gives an insight into one of his favorite tactics, soaking baits in ou... read more
Pop Up Or Bottom Bait The Best Of Both Worlds
Nowadays, anglers mostly use pop ups to balance a presentation. The ever so famous snowman has be... read more
Profile Plus Pineapple Juice - A Reliable Edge
In this article Cornish carper, Tony Welch, gives the low down on one of his favourite little edg... read more
Hi-visual Dumbell Pop-ups The Solution For All Your Hookbait Variations
Top Mainline angler, Mark Noorman, takes a look at one of Mainline's little Gems, our range of Hi... read more
Flavours And Fragrances
Currently the importance of fragrance leaked out by bait seems to be the main reason put forward ... read more

Spring Into Summer
Now the spring is over we move into the summer. Indeed spawning may well already be over and done... read more
Fusion Boilies My Number One Choice
I have been a fan of Fusion boilies for a number of years and if my memory serves me right I had ... read more
Pop-up Or Bottom Bait
The short way for me to answer this is to say that I prefer using a pop up to any other presentat... read more
Spug Goes Fishing With Iron Maiden
This nice little story started in Italy. I was out on a trip to see Iron Maiden play at Villa Man... read more
Dont Ignore The Silt
Bloodworms are not worms per se, but larvae that live and feed in among the silt in our waters, a... read more
Ten Winter Tips
Winter has to be one of my favourite times to be out on the bank. Yes, the fishing can be much m... read more
A Critical View On Steaming
Leading Dutch carp angler Mark Noorman takes an interesting look at the pros and cons of steaming... read more